**Transmission Fluid Pressure Test on a Komatsu PW170-5K Wheeled Excavator** – **Safety Precautions** – Ensure the excavator is parked on a level surface and the engine is off. click here for more details on the download manual…..
- Komatsu PW170 review and walk around 352 Rick Sanchez www.tractortip.com.
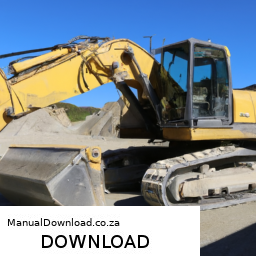
**Transmission Fluid Pressure Test on a Komatsu PW170-5K Wheeled Excavator**
– **Safety Precautions**
– Ensure the excavator is parked on a level surface and the engine is off.
– Engage the parking brake and chock the wheels to prevent any movement.
– Wear appropriate personal protective equipment (PPE), including gloves and safety glasses.
– **Gather Required Tools and Equipment**
– **Transmission Pressure Gauge**: A hydraulic pressure gauge capable of measuring the specific range of fluid pressure (typically in psi or bar) relevant to the transmission system.
– **Pressure Test Adaptor**: An adaptor fitting compatible with the transmission fluid pressure port. This allows for the connection of the pressure gauge to the transmission system.
– **Wrenches and Socket Set**: For removing and tightening fittings and connections. Ensure you have the correct sizes to avoid damaging components.
– **Shop Towels and Clean Rags**: To clean up any spilled fluid and to keep the work area tidy.
– **Container for Fluid**: To catch any transmission fluid that may spill during the process.
– **Locate the Transmission Fluid Pressure Port**
– Refer to the service manual for the specific location of the pressure test port on the transmission.
– Typically, this port is located on the transmission case and may be covered by a protective cap or plug.
– **Prepare the Excavator for Testing**
– Start the engine and allow it to reach operating temperature. This is important, as transmission fluid expands and its properties change when warmed up.
– Cycle through the transmission gear ranges (forward, neutral, reverse) to ensure fluid is properly circulating.
– **Install the Pressure Gauge**
– Carefully remove the cap or plug from the pressure test port using the appropriate wrench.
– Install the pressure test adaptor into the port, ensuring it is secure and properly aligned.
– Attach the transmission pressure gauge to the adaptor, ensuring that all connections are tight to prevent leaks.
– **Conduct the Pressure Test**
– Start the engine again if it was turned off during the installation process.
– With the excavator running, shift through the various transmission ranges while observing the pressure gauge.
– Record the pressure readings for each gear range according to the specifications provided in the service manual.
– Observe whether the pressure stabilizes within the manufacturer-specified range.
– **Analyze the Results**
– Compare the recorded pressure readings with the acceptable pressure ranges specified in the service manual.
– Identify any abnormalities such as low pressure, which may indicate issues with the transmission pump, clogged filters, or internal leaks.
– High-pressure readings may indicate blockages or other mechanical problems.
– **Shutdown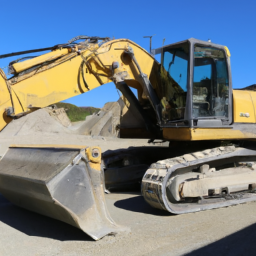 and Remove Equipment**
– Turn off the engine and allow the system to cool before proceeding.
– Carefully disconnect the pressure gauge and adaptor from the pressure test port.
– Replace the cap or plug securely on the pressure test port to prevent fluid leaks.
– **Clean work Area**
– Wipe down any spilled transmission fluid using shop towels and dispose of any waste fluid in accordance with local environmental regulations.
– Store all tools and equipment properly for future use.
– **Document Findings**
– Make notes of the pressure readings and any observations during the test.
– If any issues were detected, plan for further diagnostics or repairs as needed based on the findings.
By following these detailed steps, you can effectively perform a transmission fluid pressure test on a Komatsu PW170-5K wheeled excavator. Always refer to the manufacturer’s service manual for specific procedures and specifications to ensure accuracy and safety.
The fan belt, also known as the serpentine belt or drive belt, is a crucial component of an automobile’s engine system. Its primary function is to drive various accessories mounted on the engine, such as the alternator, water pump, power steering pump, and air conditioning compressor. Typically made from durable rubber with reinforced fibers, the fan belt is designed to withstand high levels of heat and friction while maintaining flexibility.
In many modern vehicles, the serpentine belt has replaced multiple V-belts that were once used to drive these accessories individually. The serpentine design is more efficient, allowing a single belt to manage multiple functions, reducing weight and space under the hood. The belt wraps around pulleys connected to the engine’s crankshaft, and as the engine runs, the rotation of the crankshaft turns the belt, which in turn powers the connected accessories.
Regular maintenance of the fan belt is essential, as wear and tear can lead to cracking, fraying, or stretching. A compromised belt can result in a loss of power to the accessories, causing issues such as overheating, steering difficulties, or loss of electrical power. Therefore, routine inspections and timely replacements of the fan belt are vital for optimal engine performance and vehicle reliability.