Performing a wheel alignment on a BMW 840d xDrive G16 8 Gran Coupe requires careful attention to detail and specific tools. click here for more details on the download manual…..
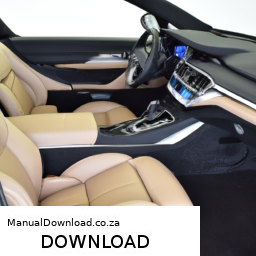
- 2020 BMW M850i xDrive Gran Coupe – Luxury Four-Door Coupe 2020 BMW M850i xDrive Gran Coupe G16 – Drive, Interior and Exterior. Subscribe. #M850ixDriveGranCoupe …
- How to configure your BMW Kidney Grille and get that Iconic Glow Learn how to use BMW Iconic Glow The BMW Iconic Glow is connected to your Welcome Lights and can be configured in the …
Here’s a reverse order explanation of the process:
### 7. Final Adjustments
– Ensure that all adjustments are locked in place.
– Re-check alignment readings to confirm that they are within the manufacturer’s specifications.
### 6. Test Drive
– Take the vehicle for a test drive to check for any steering pull or handling issues.
– Return to the alignment rack to verify that the settings remain correct after the test drive.
### 5. Torque Specifications
– Tighten all adjustment bolts to the manufacturer’s torque specifications to ensure they do not loosen over time.
### 4. Adjust Angles
– Adjust the camber, caster, and toe angles as needed using the alignment machine’s readings.
– Typically, the front toe is adjusted first, followed by camber and caster If necessary.
### 3. Set Up Alignment Equipment
– Position the vehicle on the alignment rack.
– Attach the alignment heads to each wheel and connect them to the alignment machine.
– Ensure the vehicle is level and not under any load.
### 2. Inspect Suspension Components
– Check for any worn or damaged suspension parts (e.g., bushings, tie rods, control arms) that could affect alignment.
– Replace or repair any faulty components before proceeding with the alignment.
### 1. Prepare the Vehicle
– Ensure the vehicle is in a neutral position with the steering wheel straight.
– Check tire pressure and ensure all tires are at the recommended specifications.
– Remove any unnecessary weight from the vehicle.
### Note:
Always refer to the specific service manual for the BMW 840d xDrive G16 for detailed procedures, specifications,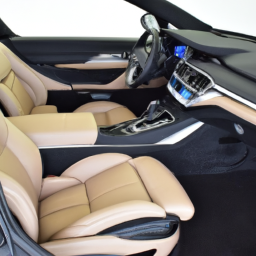 and safety precautions tailored to that model. Proper training and equipment are essential for performing wheel alignments accurately.
The ignition switch is a crucial component in a vehicle’s electrical system, responsible for starting the Engine and controlling various electrical functions. Typically located on the steering column or the dashboard, the ignition switch serves as the interface between the driver and the vehicle’s ignition system. When the driver turns the key (or presses a button in keyless systems), the ignition switch activates the electrical circuit that allows power to flow to the ignition system and other essential components.
The ignition switch usually has several positions: “Off,” “Acc” (accessory), “On,” and “Start.” In the “Off” position, all electrical systems are powered down, conserving battery life. The “Acc” position enables the driver to use electrical accessories, like the radio or power windows, without starting the engine. When turned to the “On” position, the ignition switch powers the vehicle’s electrical systems, including the dashboard lights and fuel pump, while the “Start” position engages the starter motor, cranking the Engine to initiate combustion.
Modern ignition switches may incorporate advanced technology, such as transponder keys or push-button start systems, enhancing security and convenience. A malfunctioning ignition switch can lead to starting issues, electrical failures, or even potential safety hazards, making it a vital component for the overall functionality and reliability of a vehicle. Regular maintenance and timely replacement when issues arise are essential for ensuring seamless vehicle operation.
 and hand-tighten the bolts to hold it in place.
 and align the holes for the bolts.
 and align it using the
 and effectively.
 and when it activates (e.g., during acceleration, idling, etc.).
 and secure it with the bolts or clips you removed earlier.
 and all connections are made, reconnect the
 and that there are no gaps.
 and refill it with new brake fluid.